|
|
Advertisement:
|
|
VapoChill Facelift |
|
Join the community - in the OCAU Forums!
|
The Idea, Modding the Lian Li
First up I would like to thank Mal for listening to me ramble on about this idea for the last couple of months. Your help was invaluable mate.
The plan is hatched
The vapochill classic case was looking a little tired and in desperate need of a facelift. The perfect replacement was the Lian Li PC75. Silver, sexy and a look that never goes out of style. The conversion mod had been done before but never quite like this.
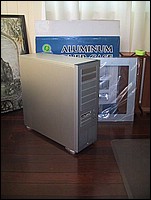
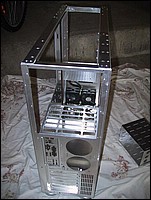
Lian Li fresh out of the box
The bonus I got with the PC75 was that a full non-windowed side was included as well as the windowed side panel. The non-windowed panel came in very handy later on.
Even the Lian Li needs some moddage
After measuring up the height of the vapochill unit and marking it out on the back of the Lian li with the height needed for the power supply it was fairly obvious there was some modding that needed to be done. This was a job for the dremel.
 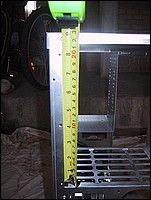
Measuring the height of the vapo and measuring it off on the Lian Li. Doesnt leave a lot for the PSU.
As suspected I was short by about 15mm
So nothing was scratched and to later get the vapo into the case I had to take her top off. As you can see I took a dremel to the fan grills at the rear of the case to make way for something a little nicer later.
The top would have to come off for access. Drilling action, Lian Li sure like their rivets.
Topless and fan holes cut out of the rear.
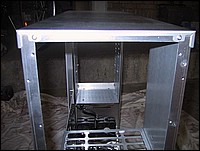
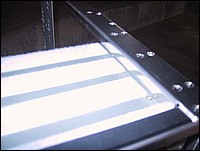
From my measurements earlier the plan was to drop the vapochill tray down about 15mm nearer to where the top of the motherboard tray sat. This meant some of the grill under the power supply area had to go. Time for more dremel work.
A little grill was left to act as a mount later.
You can sort of see how the top motherboard mounts sit down a little from where the power supply would sit. Every millimetre counts.
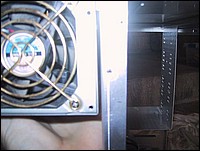
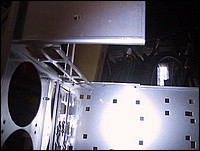
I wanted to mount the power supply at the top rear of the case but in the game of millimetres the case didnt want to play so once again she had to be caressed with the dremel.
The inside edge was stopping me from having the PSU right up the top. I was starting to feel comfortable with the dremel in my hand and obviously they had to come off. A few cuts and the PSU fits flush against the top of the case.
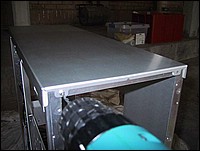
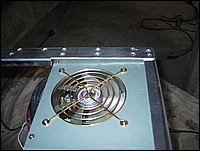
The top lid of the Lian li didnt escape the dremel either. The way I wanted air to flow in the top of the case was out a chimney above the compressor.
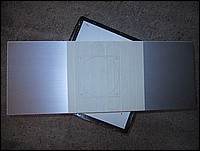 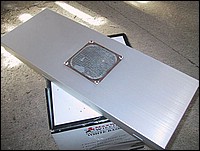
Measured up the lid for surgery, then made the cuts and mounted a spiffy looking grill to match the Lian li looks. Now with all the cuts made to the case it was time to see if I measured everything up right.
|
|
Advertisement:
All original content copyright James Rolfe.
All rights reserved. No reproduction allowed without written permission.
Interested in advertising on OCAU? Contact us for info.
|

|


