Fitting Everything In
Fitting everything in
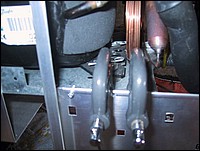
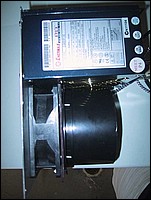
After measuring and drilling a few mounting holes on the front sides of the vapochill tray, the time had come to get it into the case. After a beer and more than a moment of self doubt that I had ruined a Lian Li, the vapochill slid in and sat in place just as planned. This is how the initial mounting turned out.
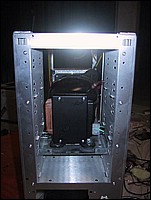   
This is what I meant when I said every millimetre counted.
Now that I knew the vapo fit ok, the motherboard tray had to be drilled to secure the vapo tray.
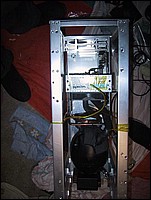
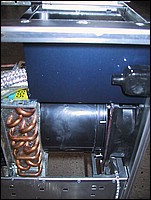
Clamped up and drilled, and the vapochill tray sitting independently.
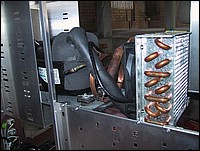
5 bolts on the motherboard side and 2 on the other side hold it in place. The tray itself is fairly thick steel so I was fairly confident that it would hold square.
I mentioned before that every millimetre counted, well as you can see above it was a snug fit - but I still have use of the top and bottom 5¼ drive bays.
Custom Backplate and Rear Shroud
This is where the bonus side panel came in handy. I cut out a section from the middle of it, to use as a new custom backplate for the case. With the fear of cutting the Lian li gone, a quick measure and tape up of the area, then out comes the trusty dremel again.
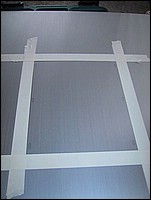
The side panel prepped for the operation
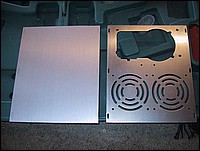
Successfully cut a new back panel out of the spare side panel.
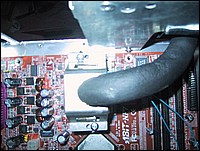
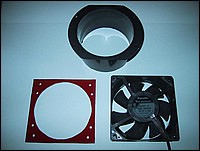
To get the most out of the vapo I decided a 120 mm fan had to go in the rear of the backplate to feed it fresh air. The shroud from the back fan to the radiator was going to be mostly behind the PSU cover of the case, so looks weren't going to be a major concern - but I think things turned out ok.
The measuring and cutting of the backplate was the worst job to date. The continuous filing and nudging to get the fan shroud and power supply to fit just perfect took a few hours.
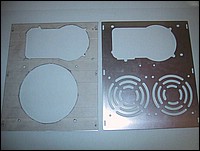
Nervously the cuts were made. You might notice that the measurement for the PSU was moved to the right before the final cut. This was done so I could fit an adapter for the pump powercord on the left side.
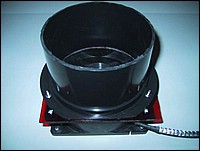
A perfect fit. The shroud and PSU fit perfectly together with only a couple millimeters to spare.
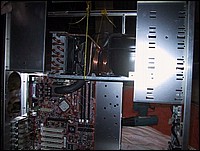
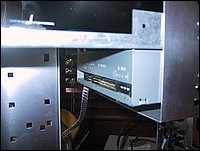
Backplate test fitting to make sure height was good. I was also happy with how close I was able to get the shroud to the edge of the radiator.
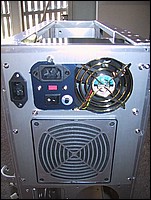
Rear shot of the backplate mounted. A hole was cut for the pump power adapter also. All the power cords will be kept nicely together running out the back of the case.
The wiring from the chill control unit to the vapo black electronics box and the fans on the radiator needed some attention. I wanted the second fan on the rear of the case to start up at the same time as the fan on the radiator. I added a molex to the fan power extension so that both fans will start at boot up of the vapochill to get it down to operating temperature.
|


