Preparing the fan
Preparing the fan
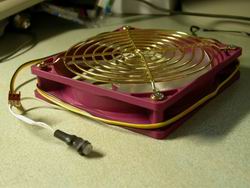
Lets start with the obvious. We have this:
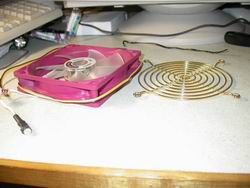
The fan grill is just going to get in the way, so with your trusty philips-head screwdriver, remove the grill to turn it into this:
We'll start by selecting where we want to put the LEDs. Plan it so that the head of one LED points at the head of the next - this makes sure that the light distribution is realtively even, and that the light of one doesn't overpower the light from the next.
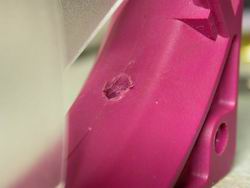
Also mark the spot for a hole on the solid corners where the screw goes. This is where a wire will be fed through to make it appear neater.
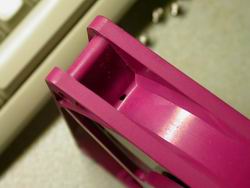
The mark for where the LED hole will go.
If you're not confident with your drilling then I recommended that you remove the fan blades. To do this, take off the sticker on the side which says "Compuman", remove the circlip and pull the fan out of the shroud. This'll make sure that when you drill through the shroud and go too far that you don't scratch the blades of the fan with the end of the drill bit. If you need a better explanation about circlip removal, check out CaseJunkiez's fan painting article.
Drilling the holes
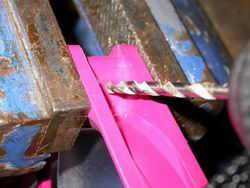
Start the holes off by turning the drill bit where centre of the markings are. This will make sure that the drill bit doesn't ride off anywhere when you actually use the drill. With your drill bit which is slightly larger than the base of the LED itself, lock the fan into a vice and commence the drilling of all marked LED positions.
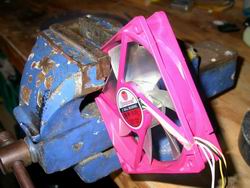
The fan sitting in the vice ready for drilling.
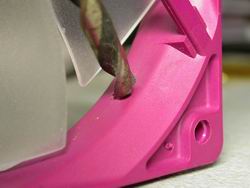
If you haven't removed the fan blades then keep an eye out as you're drilling. Watch the other side of the fan, taking it slowly as you drill watching for any discolouration - the discolouration indicates that the drill bit is about to come through, and that you should back off.
Now also drill the corner holes where the wire will be passed through. A smaller drill bit can be used here (unlike the one in the photo) - a drill bit slightly larger than the wire itself will be sufficient.
The wire holes being drilled out.
You'll get something like:
The LED hole drilled.
The next part is cleaning up. Grab drill bits just a bit larger than the holes themselves and turn them by hand to clean up any debris:
Using a drill bit to clean out any plastic debris on the other side of the hole.
Once the drilling has been cleaned up, reattach the fan blades if you had removed them.
|