|
|
|
|
|
Swiftech H20-220 Apex Ultra Watercooling Kit |
|
Join the community - in the OCAU Forums!
|
Fitting the Kit
Fitting the Kit into the Case:
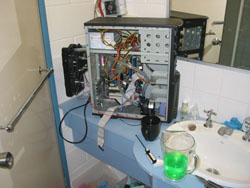
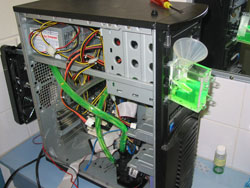
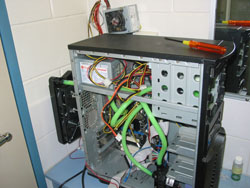
I set aside a full Saturday afternoon for this job, and used up most of it. Using the bathroom bench again I began fitting parts, and soon realised that I had cut the hose lengths incorrectly. After a bit of cursing and swapping hoses around I got everything set everything where I wanted it, with a minimum of disruption to the case, hose runs and parts therein. My stress levels were a bit raised, but I soldiered on.
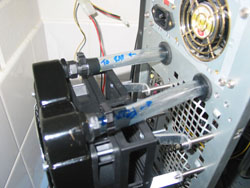
This is the reason why some of the hose ends are marked incorrectly in the photos. I tried my best to be organised, but it went out the window with my inability to measure properly. I still think it's a good idea to mark the ends of your tubing.
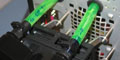
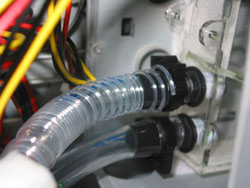
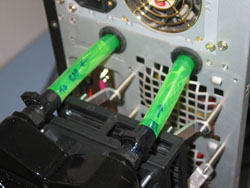
One change I made (apart from the hose rearrangement) was to wrap some of the anti-kinking "Smartcoil" included in the kit. This Smartcoil stuff is basically a long plastic spring that you wrap around parts of the hosing that's prone to being kinked, such as tight corners. It helps keep the tube's original shape and stops it from collapsing, which would restrict the flow of the coolant.
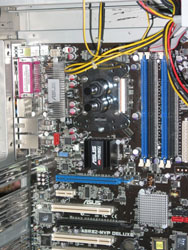
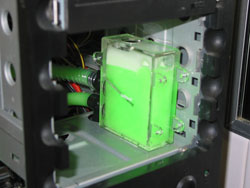
I also wrapped some thread tape on the barbs of the waterblock and the reservoir, just to give some extra insurance against leaks. Installing the waterblock on the motherboard was simple, as it uses the two standard Socket 939 mounting holes to secure the mounting plate. You can see the plate has other holes for the various other socket types too - the manual actually dedicates 8 pages to showing how the various sockets are taken care of.
Finally, it was time to charge the circuit with coolant, in the same manner as testing: fill reservoir, turn on the pump, turn it off, repeat. The bubbles cleared pretty quickly as before, but there was still air in the system, so I left the entire system running like this for about 6 hours, as to allow the remaining air to be purged and to do a final check for leaks. As you can probably tell, I'm a bit paranoid about unchecked coolant floating about my computer.
In the end, there were no problems or leaks, so it was time to take the final step.
|
|
Advertisement:
All original content copyright James Rolfe.
All rights reserved. No reproduction allowed without written permission.
Interested in advertising on OCAU? Contact us for info.
|
|