Introduction and initial installation.
The trend in cases used to be for something big, heavy, loud and difficult to carry around. These days, the small cube cases are the next big thing, thanks to VIAs acquisition of Cyrix. But these cube cases, and the motherboards to go with them, are often too expensive for users on a budget. AOpens H340 series of cases fill the gap in this market.
Today we look at the H340A, a stock standard beige MicroATX case. This means instead of buying a more expensive motherboard, you can save money and buy a MicroATX board for your CPU of choice. And, its small perfect for carrying to LANs, or sticking under your TV for a cheaply built Home Theatre PC machine.
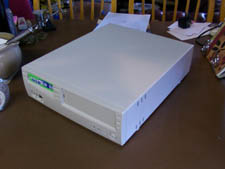 
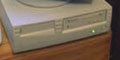
Heres the case in all its glory. To be honest, when I picked it up from the post office, it seemed heavier than I thought it would be after seeing photos of the case before. But its 4.66Kgs unloaded hardly a heavy case these days. AOpen do make an aluminum version, but thats likely to be more expensive, as most aluminum cases are. This one came with 2 USB ports and 2 audio ports on the front too, but unless your motherboard has the headers, or you feel like soldering on some cables, then theyre pretty useless. AOpen threw in a small piece of plastic which clips on over these ports if theyre not being used, so other users dont plug in a USB device or headphones and wonder why they dont work.
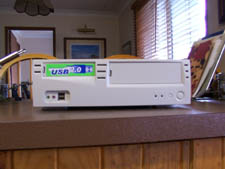
The case is almost ideal for a HTPC project. Its narrower and slightly higher, but about the same depth as your usual VCR. So it should fit in with most home theatre systems fairly easily.
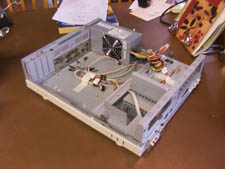 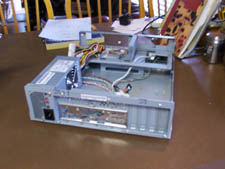
Inside, the case shows AOpens usual quality. Everything is neatly secured and sharp edges have been rolled so you dont lose any fingers. Theyve even used proper PCI slot covers that screw in, so you dont bleed to death from trying to poke out those annoying pressed covers that most cases have. One of the covers even has a cutout for a video card, if your video card is short enough and has the VGA connection just in the right position. Unfortunately, the card I wanted to use in this machine was short enough, but the VGA connector was a bit too high.
The system is also equipped with a 180w slimline AOpen PSU. Yes, its only 180w, but all the case has room for is one (or two) hard drives, a CD-ROM and a floppy drive. 180w is plenty. Its Pentium 4 compatible, too.
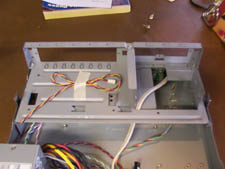 
Heres the drive bays. Theres 1x5.25 bay, 1x3.5 external bay and 1x3.5 internal bay. There are two tabs which, when pressed, allow the external bay cage to lift right up and reveal the internal 3.5 bay. Theres even a 40mm cooling fan to draw cool air from the side of the case across the hard drive. However, its flawed in 2 ways.
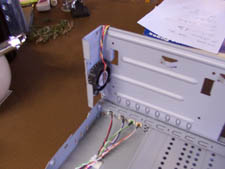
Firstly, the direction of the hard drive cage means that in addition to the front panel wires already in that photo, theres going to be no room left for airflow after youve got a hard drive data and power cable hooked up, even if youre using rounded cables. Secondly, the 40mm fan is rather noisy. It drowns out the power supply and hard drive with the rattling, so if youre building a HTPC, you might be best leaving it unplugged or replacing it with something quieter. It has a nice long 3 pin wire for hooking into the system fan header on most motherboards if you do feel inclined to use it though.
Installing the hard drive is as easy as unscrewing the internal cage and securing the hard drive to it. The CD drive is a little trickier though. Its secured from the bottom. The only way to get to the bottom of the 5.25 cage is to have it lifted vertically. Trying to hold a screwdriver while keeping the drive still in the cage is not a particularly easy task. Once one screw is in place though, it becomes much easier.
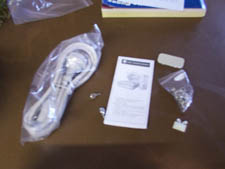
AOpen threw in some assorted goodies with the case. Theres the usual power cable, manual and assortment of screws. Theres also a hook with a double sided piece of tape on the bottom for securing to the case to tidy cable clutter, too.
|