|
|
|
|
|
Senfu WaterCooling Bundle |
|
Join the community - in the OCAU Forums!
|
Assembly, Testing, Installation
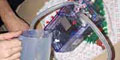
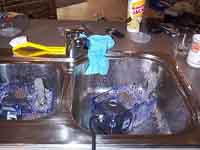
After screwing it all together and making sure everything is watertight, we both decided to give the pumps a shot in the sink. Fill the tank, turn on the pumps, and keep the water flowing from the tap so it doesnt run dry. You may need to turn the pump on and off a few times to get rid of the bubbles causing gargling noises.
Next was deciding how to mount everything. I decided to mount my radiator on top of the case and have my reservoir sitting behind it. Digital_Guardian was able to fit his radiator inside the case, and his reservoir on top. The first thing to do is remove the hardware from inside the box. I emptied mine, but DG was happy leaving his in. He's a brave man. He removed his heat sink though and this is what we saw.

No CPU?? What the?? Turns out it was stuck on the bottom of the heat sink. And pretty damn well too. And somehow it came out without lifting the CPU socket lever. Very very gently prising the CPU off with a dining knife seemed to work slowly.
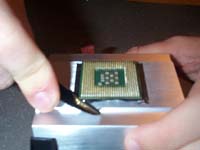
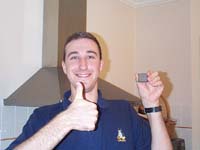
It's all OK folks. No bent pins, nothing damaged. All happy.
The next thing to do was drill the cases where hoses would be passing through.
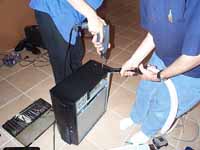
Digital_Guardian drilling his box with Tripman supporting it.
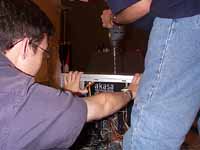
Me drilling my case with Digital_Guardian catching any shrapnel with the vacuum.
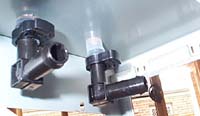
I ran the pipes down the holes for my radiator into elbow bends just above the power supply. The tight fit in there meant I couldn't just bend the hoses. Here are a pair of pics showing the way the pipes are run in my box.
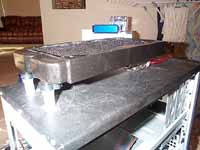 
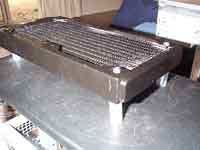
Because my Pentium 4 mounting kit would otherwise be unused, I decided to use it to mount the radiator at the other end. The 2 screws first ran through the fan mounting holes on the radiator, working it through the core gently and out the other side. 2 Short lengths of pipe were cut to hold the radiator level. The screw went through these and through the top of my case, which then went into the 2 P4 mounting bars. This held the radiator on quite securely.
|
|
Advertisement:
All original content copyright James Rolfe.
All rights reserved. No reproduction allowed without written permission.
Interested in advertising on OCAU? Contact us for info.
|

|