Creating the Mosaic
Step 2: create mosaic with ALL avatars and no duplicates.
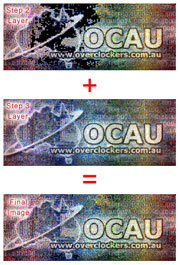
In the next three steps we will create the mosaic; it is important that you follow these steps as accurately as possible. What we are doing is creating two different mosaics, and then layering them to form the final mosaic.
Here is an outline of what each step acheives:
Step 2: Create a mosaic, which has ALL avatars in it, but with some "holes" in it; it will be quite unsightly as you can see.
Step 3: Create a mosaic which has duplicate avatars, and although it looks good, doesn't have every avatar in it.
Step 4: Combine the two avatars, with the "holes" removed, so we have a completed avatar that not only looks good, but has every avatar in it.
Note that step 5, the JavaScript zoom-in and avatar locator script, is optional but definately a great feature if using this on a community site.
So, to begin, start Andrea Mosaic and do the following steps:
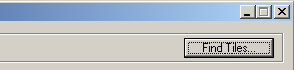
Click Find Tiles
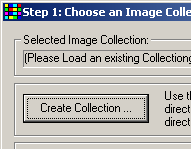
Click Create Collection
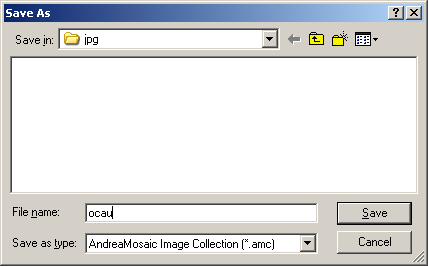
Save the file in the appropriate directory - this file will be an index to the JPG files you created in step 1. NOTE: Make sure you navigate to the directory where the JPG files from step 1 are located.
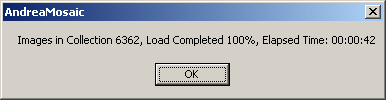
Once it is finished, click OK, then close.
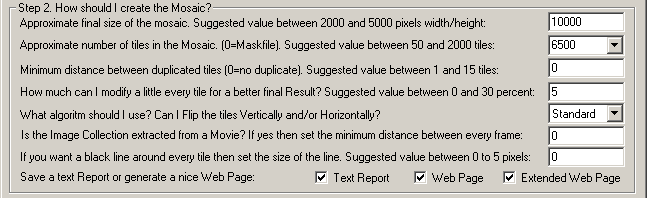
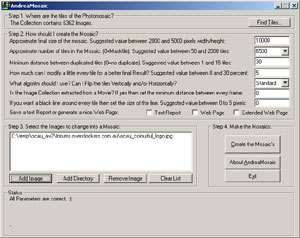
Next you need to set up the mosaic parameters. Depending on how many images you have and how varied they are you will need different settings. I wanted this to be quite a high-resolution image, so choose 10000 pixels wide. As we have more than 6300 images from OCAU, I chose 6500 as the number of tiles. The important part is to choose 0 as minimum distance, as this will allow no duplicates, and use ALL tiles. I allowed 5% modification, as any less than that make a very rough image, and more than that, the avatars change too much. I used standard as the modification algorithm, as that allows rotating, zooming and flipping of images. This seems to work well, as you can still easily recognise your avatar. Another important part is to tick the Text Report flag, as this is required for the JavaScript part later.
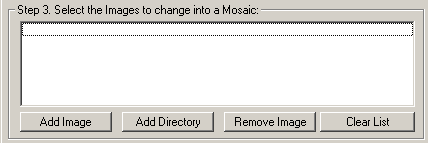
Next click Add Image, and choose the image you want to use - this can be any image, and it doesn't need to be high resolution for a good result. Once again, depending on your avatars, you may need one with many different colours. You can use the OCAU logo as an example - make sure you leave the name as ocau_colourful_logo.jpg.
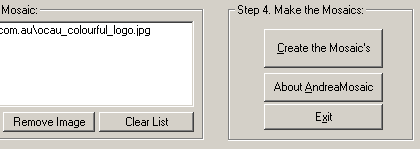
Once your image has been added, click Create the Mosaic's. Depending on the speed of your computer, it will take a few minutes to generate.
Step 3: create mosaic with any avatars and some duplicates allowed.
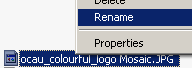
First thing to do is re-name the file you created in Step 2 above, call it "mosaic_front.jpg".
It is imperative to remember this step!!! Now we repeat step 2, with the following exceptions.

Load the collection you saved in Step 2.
Setup the parameters as seen here - the settings are the same except for minimum distance, and the text reports. Click Create the Mosaic's, and it should take a few minutes again.
Rename the newly created mosaic to "mosaic_background.jpg".
|