|
|
Advertisement:
|
|
Inexpensive Greener File-Server Guide |
|
Join the community - in the OCAU Forums!
|
Fractal Design Array R2 NAS Case Review
Fractal Design Array R2 NAS Case Review
Fractal Design are a relative newcomer to the case design market. Based in Sweden, they specialise in high quality, professionally designed and great looking cases. The Array R2 NAS Case costs around AU$290 which is fairly expensive but it does include a 300W 80Plus power supply.
This is the latest edition of the Array case, the R2. It has upgraded rubber grommet hard drive mounts from the original rubber to silicon, to decrease vibration caused by hard drives. They also added an extra expansion slot and redesigned the front fan for better coverage.
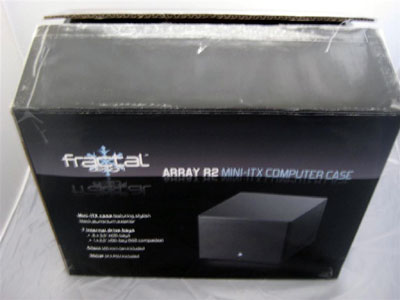
Inside the box you will find the case and only the case. Now Im not one to normally read a manual but with this case it would have been nice to show what screws I need to undo. I lost about 30 minutes figuring how to take this beast apart.
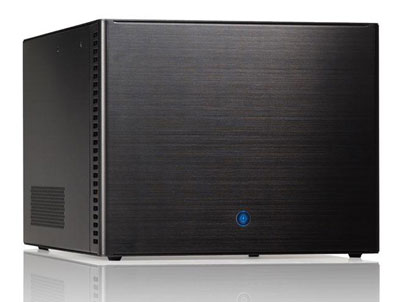
As soon as you take the case out of the box you will fall in love with the clean brushed aluminium look. The case feels strong and very well made with no play from any of the panels. The front of the case has a single power button that lights up a cool blue when powered up.
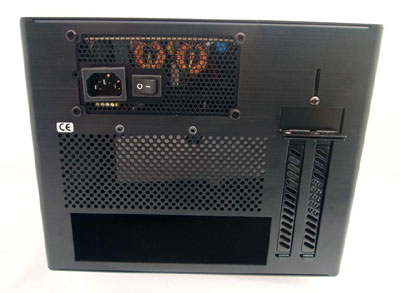
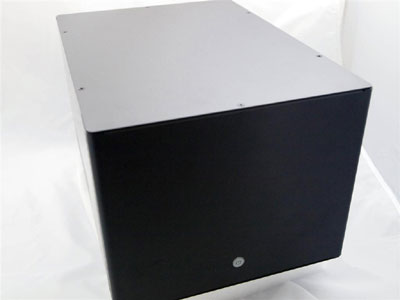
The rear of the case has two expansion ports, a standard IO port and a nice big rectangle of punched ventilation holes below the power supply.

Additional punched ventilation holes are located on the side.

In the front of the case resides a 140mm fan to hopefully keep the drives cool. One minor issue I saw was the location of the 6 hard drives compared to the the fan. From the image above you can see that the outer hard drives on the left and right will not get optimal air movement. In my tests I did I measured a 10C surface temperature difference between the outside drives (~43C) vs. the middle four (~32C) at load, but these temperatures are still way within the acceptable limits (60C) for these hard drives.
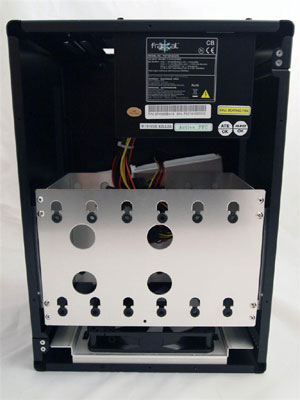
Once you undo the six screws on the top you are finally inside. The motherboard mount location is hidden under the power supply and hard drive cage. The hard drive cage has silicon mounts to dampen any noise. To remove the hard drive cage you undo the screws on the inside.
Dont waste your time undoing the outside screws as these just undo the caddy mounts and they dont clear the case. Its the inside screws and two magnets under the cage that are holding the cage on. Thats an example of where a small manual would have come in useful.
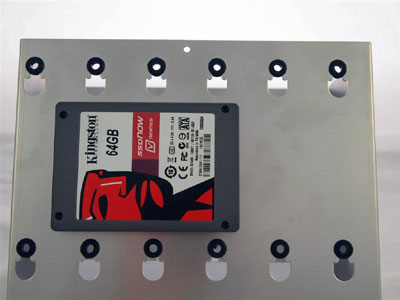
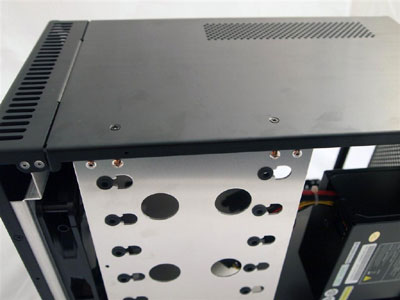
Once the drive cage is out you can access the SSD mount located on the bottom. I spent ages looking for this for ages - another quirk that should have been listed in a manual or quick reference sheet.
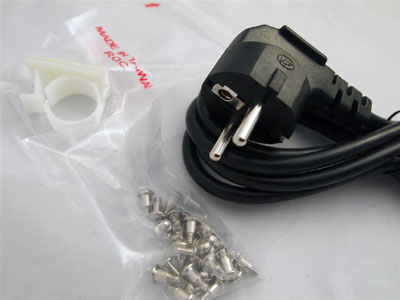
Inside the drive cage you find a box with a few bits and pieces, including screws to mount the hard drives and install the motherboard, sticky cable management device and UK voltage plug. Im not exactly sure where the sticky cable management device is meant to go. The screws included do not include the mounting screws for the SSD, so you will need to find some, and unless youre in the UK you will want to find an AUS power cable. The power supply will work with either 110V or 220V.
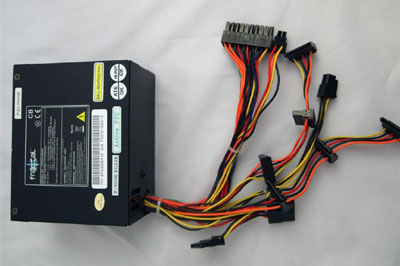
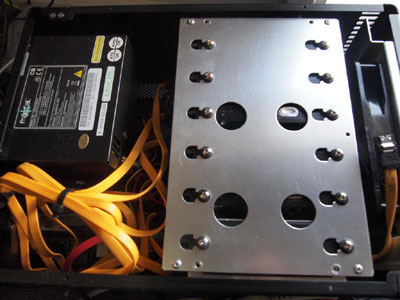
The 300W power supply has seven SATA power connectors, standard ATX 20+4 power connector, standard 4pin auxiliary power and 1 standard molex adapter. The power supply is fairly heavy and as you will see later it is highly efficient. I did find that it was a bit of a struggle connecting the hard drives, auxiliary device and SSD up. But once its connected you will hopefully never need to touch it again. The power supply is whisper quiet and uses an 80mm ball bearing fan to cool itself.
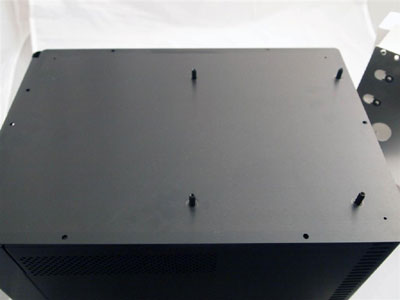
The base of the case which is removable has 4 stock mITX mount points making install easy.
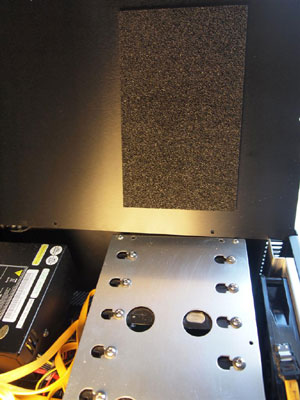
The lid or top of the case has foam to stop any vibrations transferring through.
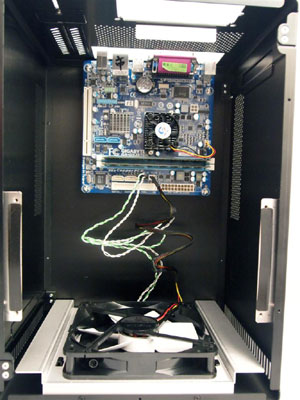
Here is the motherboard installed showing the front fan, power LED and power button connected to the motherboard. You wont find any USB or front audio on this case but for the target audience I dont think its a big issue.
Also this will be covered later down the track by the build guide, but as you can see when fully populated the cables become a bit of a dogs dinner and while I love tidying cables up normally I just found no room to allow this.

Overall this Fractal Design Array R2 Mini ITX NAS Case, while it may be a tad expensive, I believe it is worth it. It has a few minor niggling issues like the need for some documentation, the lack of a correct region power cable, the lack of screws for the SSD and I feel they could replace the single 140-mm fan with two smaller fans that can cool all six drives. These issues pale in comparison to the beautiful lines of this case, the minimalistic power button and more importantly how well it is constructed and works. You really can feel the thought and design put in by Fractal Design and I feel it works as a tribute to their company and a warning to all other case manufacturers.
|
|
Advertisement:
All original content copyright James Rolfe.
All rights reserved. No reproduction allowed without written permission.
Interested in advertising on OCAU? Contact us for info.
|

|