|
|
|
|
|
Senfu WaterCooling Bundle |
|
Join the community - in the OCAU Forums!
|
Installation Continued
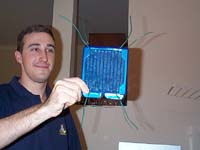
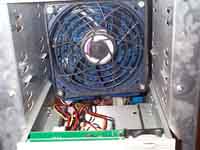
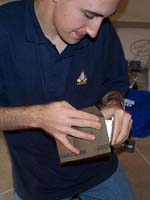
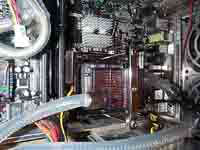
Digital_Guardian managed to fit his radiator inside three and a bit 5.25in drive bays. Standard garden tie was used to hold it in place by running it through the core, and tying it into the drive mounts. It was also held with strong double sided tape onto the burner above.
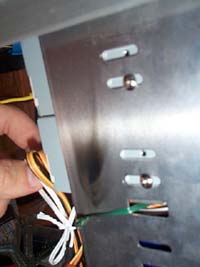
The garden ties were melted where they were twisted with a Zippo lighter. Any charring that occurs like we had can be cleaned with a moist tissue.
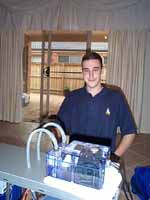
The reservoir was mounted on top of the case, using some of the anti-skid pad that came with the kit.
We then lapped our blocks to give a nice smooth contact surface. This was done with 1600grit emery paper we bought from Bunnings when we were there. The blocks were quite good to start off with, but the extra lapping probably made quite a difference.
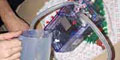
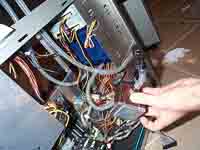
The next thing to do was finish Digital_Guardians computer, which was basically connecting the hoses and filling the system. It was run for 5-10 mins before installing the CPU, just to make sure any leaks were found. It also allowed us to shake the block and other things to make sure all air bubbles are out of the system.
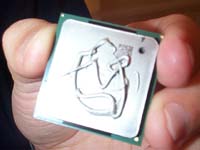
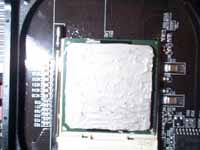
One thing never to forget is thermal grease. We used Arctic Silver 2 kindly donated by our mate Tripman. Digital_Guardian decided that he needed a lot to cover his large P4 core (about 10 times as much as you need :) - Agg), while me being not too sure on these things let Tripman do my core.
  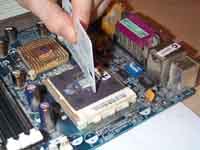
Once DG was satisfied his system wasn't leaking, we set about installing the block. This was a relatively straightforward process. Just hook in the P4 bars, position the block on the CPU, and put the bracket over and screw it in. Make sure that it is screwed tight, but don't over tighten or you will probably crack your core.
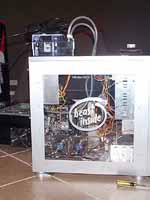
And that was it. Digital_Guardian's PC was complete.
|
|
Advertisement:
All original content copyright James Rolfe.
All rights reserved. No reproduction allowed without written permission.
Interested in advertising on OCAU? Contact us for info.
|
|