|
|
Advertisement:
|
|
Corsair AX860i PSU |
|
Join the community - in the OCAU Forums!
|
Installation, Monitoring Software, Conclusions
INSTALLATION
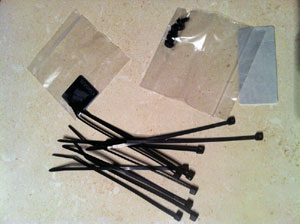
Very small zip ties, smaller screws and tape to hold down the Corsair Dongle (not that the manual said that).
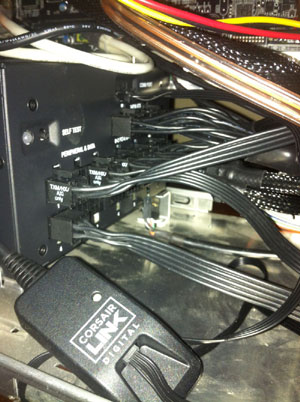
Final cables plugged in.
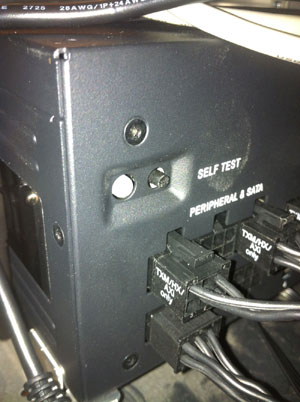
I was stupid enough to try and press the self test button with the PC off (nothing happened).
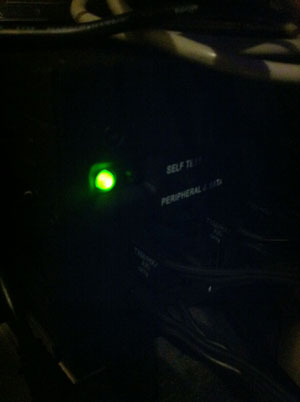
When I booted the system the self test light went green.
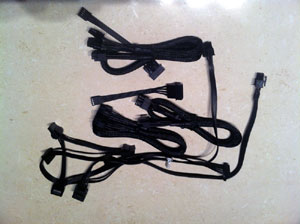
These are the cables I had spare.
CONFIGURING CORSAIR LINK
After I booted Windows I quickly realised that my previous powersupply had cause me to go deaf over the last 3 years. All I could hear was my 7 case fans and that was barely audible. A Nintendo Wii was now more noisy than my PC. If you have a noisy computer stop reading this review and instantly go and buy a silent PSU, your ears will love you.
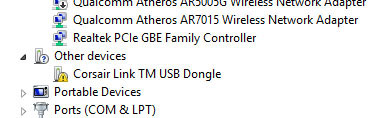
I then quickly went here to get the Corsair Link driver software. The page listed software for the 1200W but not the 860w PSU. I installed the Link SW and then fired up the Corsair Link Software. The Software did not lock onto the sensors inside the PSU.
I then detected that the drivers were not installing automatically.
A quick force of the driver install was in order.
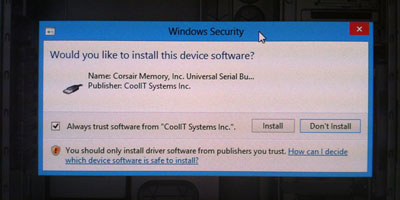
Still no luck talking to the PSU, ok time for a reboot.
CORSAIR LINK SOFTWARE
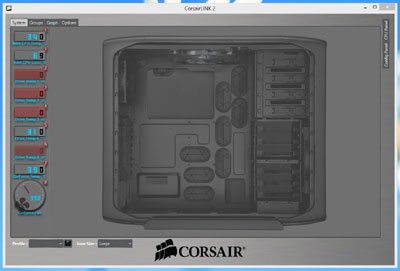
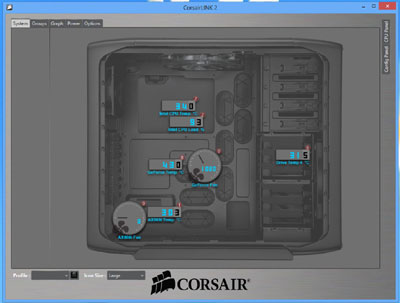
A reboot worked the Corsair software started showing values. I could not see my PSU temp and fan speed, Geforce temp and fan speed, CPU temp and only 1 drive temp (not the other 4).
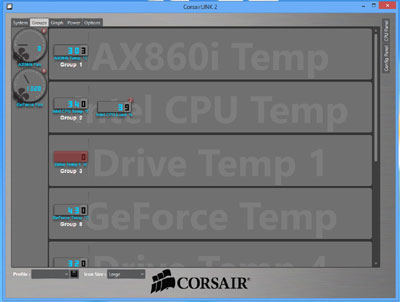
A table of these temps could be seen but was not very informative.
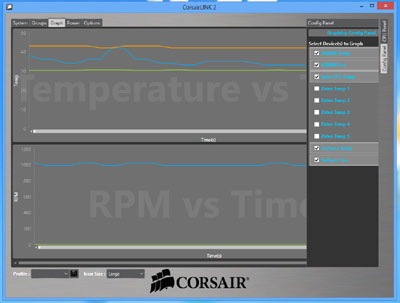
The graph tab showed the PSUs temp and fan speed history.
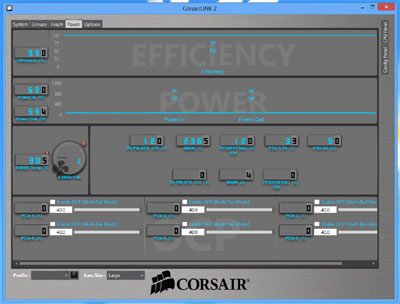
The Power tab is the impressive one, it shows the PSUs incoming power draw from the wall and outgoing power after conversion. I noticed that my system was pulling 60w from the wall and sending 59w to the idle system (99% efficient) WOW. I could even change the PSU from a single rail 12V to a multi rail 12v if I wanted to. I still cannot get over how quiet the PSU/system is now.
IDLE AND LOAD READINGS
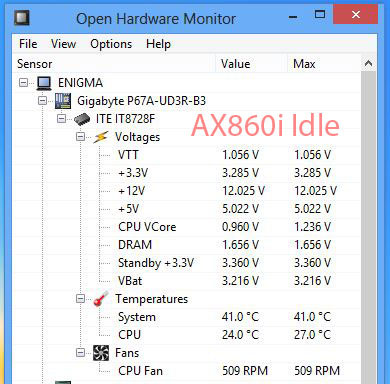
I checked the idle voltage readings again and the 12v and 5v are almost bang on. The 3.3v is 3.285v (a little low bit OK???).
I loaded up the same Unigine Valley Benchmark 1.0 and a few background processes to get a busy voltage reading and the voltages were very acceptable (less drop than the old PSU). The PSU was drawing in 250w and was outputting 248w of power. The PSUs fan did not even bother turning on.

CONCLUSION
Some may be disappointed that I did not OC my chip by 200% and run 3x 680s in SLI but this is the rig I have at the moment. I am very happy with the new PSU and I am so chuffed that my system is very quiet now. I wonder if I can claim deafness compensation from Silverstone for my old PSUs noise. I cant wait to add a second GPU knowing I have enough juice. I am sure my power bill will be lower now given my new PSU is more efficient.
PROS:- Silent.
- Efficient.
- Nice cable lengths.
- Great hardware monitoring.
- Higher capacity for future upgrades.
CONS:- Not a lot of info in the manual.
- The Corsair link download site needs work.
- The Corsair links software needs to offer a more informative install.
- Could be cheaper - street price is about $280 AUD.
- Would be nice to monitor and adjust individual voltage rails via Corsair Link by 0.01 increments (my 3.3v is a little low or maybe it is the Open Hardware Monitor).
Feel free to comment on this review in this thread.
|
|
Advertisement:
All original content copyright James Rolfe.
All rights reserved. No reproduction allowed without written permission.
Interested in advertising on OCAU? Contact us for info.
|

|