|
|
Advertisement:
|
|
Thecus N5810PRO 5-Bay UPS NAS |
|
Join the community - in the OCAU Forums!
|
Introduction, Package, Setup
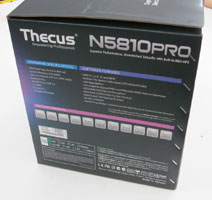
Today I'm reviewing the Thecus N5810PRO, a 5-bay Linux-based Network-Attached Storage (NAS) device. Thecus consider it an SMB NAS, so it's aimed at the small business market, but has some features that may make it of interest to home users and enthusiasts. It's based on Intel's "BayTrail" Celeron J1900, a 2GHz quad-core 64bit CPU supporting up to 8GB of DDR3L (low-voltage DDR3) RAM. The standard configuration seems to be 4GB, and this unit shipped with a 4GB SODIMM installed - but it can be upgraded to 8GB, and I've seen it listed with 8GB pre-installed at some vendors.
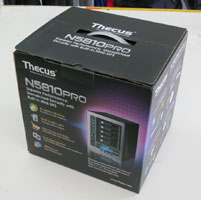  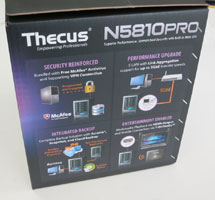
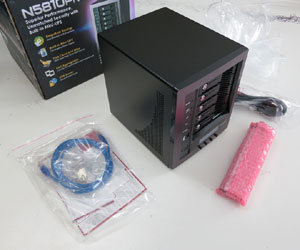
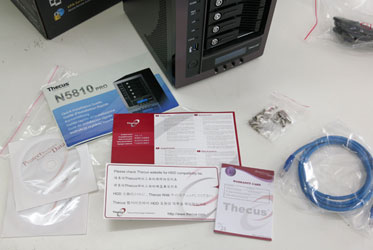
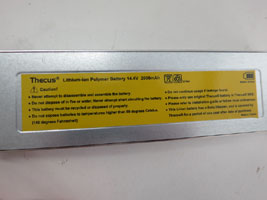
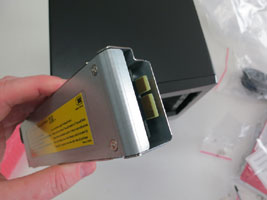
First, let's take a look at the package and the unit in detail, which will shed some light on some of its more obvious features. It arrived in a surprisingly heavy square box about 30cm or so per side. Inside we find the NAS tower itself, an Ethernet cable, a power cable, drive screws, bay keys, a quick installation guide and warranty information. There's two CDs, one for drivers etc and one with a copy of Acronis True Image to help with data transfer. In the pink bubblewrap at the front is the optional battery for the internal UPS. That's right, this unit has a built-in battery which allows for graceful shutdown in the event of power failure.
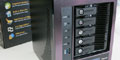
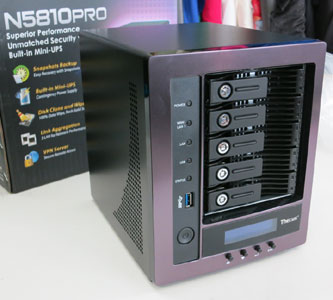
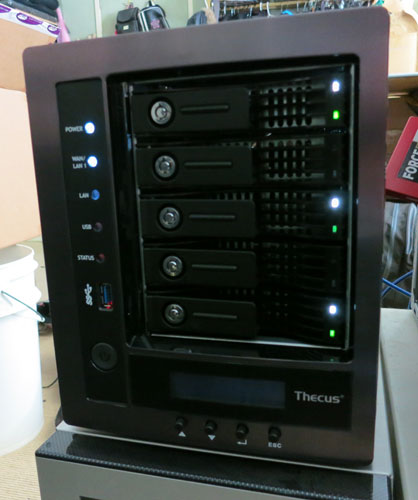
Given this is a tower NAS it's intended to stand upright rather than be rackmounted, but you could fit a couple of them side by side on a standard 19" rack shelf. On the front panel there's five status LEDs for network and USB activity etc, a USB3 port, the power button, the five lockable drive bay caddies and a small LCD panel. Below this panel are four buttons for navigating the unit but you will generally do configuration etc via a web browser from remote. The drive caddies have individual power and activity indicator LEDs on the front right.
 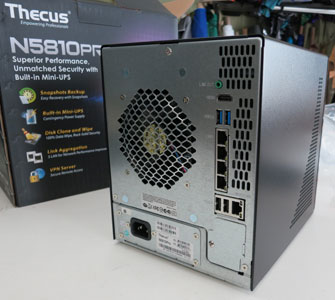
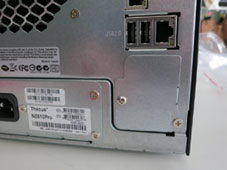
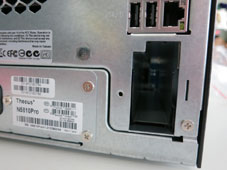
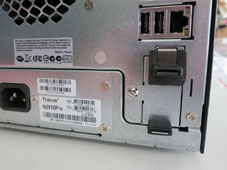
The back of the unit has a large exhaust fan with standard IEC C14 power socket below - no bulky external PSU here. To the right of that is the panel where you install the UPS battery, which we'll do later. On the right of the rear panel, from the bottom up, are an Ethernet port with two USB2 ports, then four more Ethernet ports together, two USB3 ports and finally an HDMI port and Line-Out. The five Ethernet ports set this unit aside from most others and can be used for link aggregation (providing more bandwidth to a single network) or for adding the unit to several separate networks. The HDMI and Line-Out mean this NAS can also be used as a media player or even a Linux-based workstation.
Time to set it all up. The quick install guide is, well, quick. It essentially says "install hard drives, plug it in and turn it on". There's no mention of when or how to install the UPS battery, or any information about any preferential order for filling drive bays. Fortunately it's pretty easy to figure out how to install the battery, which I did as a first step.
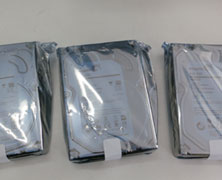
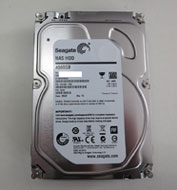
Three Seagate 4TB NAS drives were provided, and I installed them in bays 1, 3 and 5. I figure this spacing will allow for the best cooling. The two remaining bays I'll keep empty until I need more storage, by which time there'll no doubt be much larger drives available.
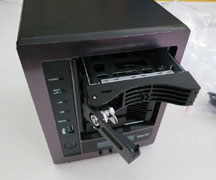 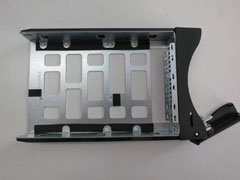 
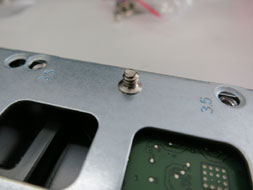
The drive caddies are fairly standard, with a mechanical latch on one side, plastic rails and a metal chassis. They feel sturdy enough although the latches are a little wobbly. They are lockable with the same circular key I remember from oldschool PC cases and have power and activity LEDs on each caddy. Thecus provide some handy very short screws for mounting drives into the caddies.
I plugged in the power and a single Ethernet cable to my desktop switch, and fired it up. Several mysterious beeping noises later we were ready to connect with a web browser.
|
|
Advertisement:
All original content copyright James Rolfe.
All rights reserved. No reproduction allowed without written permission.
Interested in advertising on OCAU? Contact us for info.
|
|