Intro, Organising Images
I recently created the OCAU Avatar Mosaic. A mosaic of course is an image comprised of smaller images - in this case all of OCAU's forum avatars on a given day were used to create a large OCAU logo. It turned out quite well and if you haven't seen it before I encourage you to check it out.
Anyway, this project attracted a lot of interest, so in this article I'll outline step-by-step the process involved, to create a mosaic out of small images like avatars, using free software. We'll also look at making a JavaScript navigation system to navigate the very large final image and find individual avatars. So, this is partly a "How To" and partly a "How I Did" article. It's a moderate to advanced topic and I assume that the reader has a good grasp of using a graphics manipulation program, a text editor and a few other utilities. This article also assumes you're using Windows, however it should be possible to do this on Linux also, provided that you can get Andrea Mosaic or a similar program to run - maybe using Wine?
In order to make the avatar mosaic, you'll need the following pieces of software (or equivalent):If you're going to implement the JavaScript avatar locator and zoom, then you'll also need MS Excel, or the openOffice equivalent. Well, you don't actually NEED it per se, but I use it here. You will need a text editor that can replace tabs, such as SciTE - ANY text editor with this capability will do.
You will also need an appropriate image, with many colours in it, such as the one I used for OCAU:

It is important to note that you don't need a high resolution image, just one with as many colours as possible, as that tends to lend itself better for adapting avatars into the mosaic. It took me quite a bit of mucking about till I got good results with the OCAU avatar, as each time you change the image, you will need to re-make the mosaic.
Steps 1 through 4 are essential in creating the avatar, step 5 is optional, as it only has to do with creating the JavaScript zoom-in and locator.
Step 1: acquire and format the images.
As I was making a mosaic from OCAU's Forum avatars, I used wget to download them all from OCAU's server. Once you have your images, you will need to convert them to JPG as that is all Andrea Mosaic uses. I used IrfanView to convert the images thus:
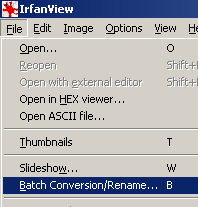
Open IrfanView, and go File -> Batch Conversion
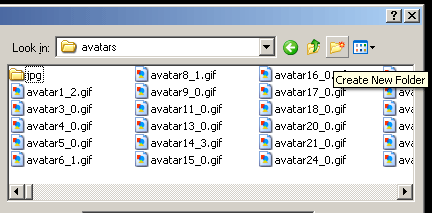
Navigate to your avatar folder, and create a new folder named 'jpg'
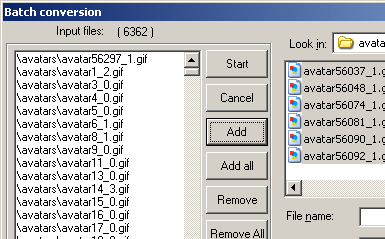
Select all the avatars, and click Add
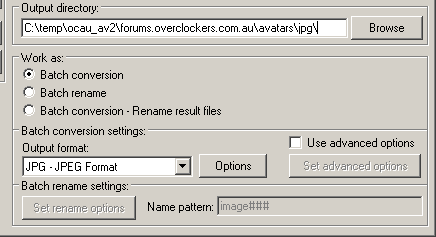
Set the output directory as the 'jpg' directory you just created, and choose JPG as output format
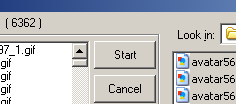
Click the start button, and a few minutes later it will be done!
You now have all the images in a useable format!
|