|
|
Advertisement:
|
|
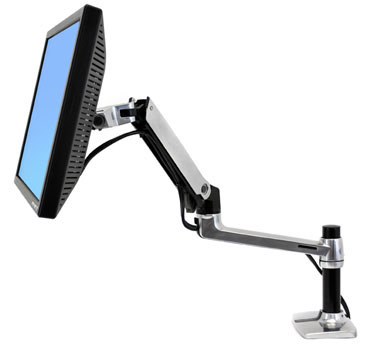
Ergotron LX Desk Mount LCD Monitor Arm |
|
Join the community - in the OCAU Forums!
|
Introduction, Overview
After many years of using small computer tables (with no room for a keyboard and mouse at the same time) to larger ex-kitchen tables I finally made a custom 2.8m wide by 80cm deep corner desk out of welded 24mm RHS metal. I added an 18mm thick MDF bench top with a 3mm thick plywood surface (for the real wood texture) and finished with a dark stain. One major problem is the desk is too deep and the monitor usually sits too far back for good OH&S. A pile of books have been used under the existing Dell monitor stand but this usually gets in the way and is unsafe.

Well, this Fathers' Day I received a nice present - an Ergotron LX Desk Mount LCD Arm, purchased from OCAU Major Sponsor Scorpion Technology.
Packaging:
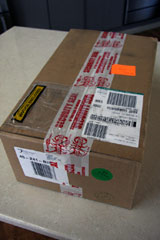
The stand arrived in a cardboard box with expanded polystyrene framing keeping everything securely in place.
 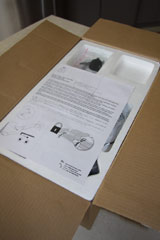  
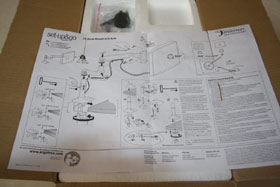
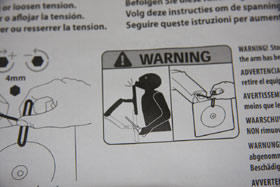
The instructions are quite clear, if a little alarming:
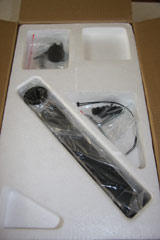
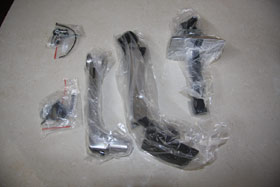
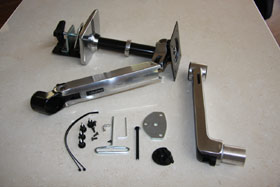
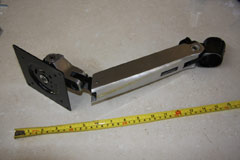
Each part is individually plastic wrapped, but luckily no twisty ties on everything like Dell and HP usually do. Once uncovered you can see the desk clamp and riser at top, middle extension arm at right and the monitor-end arm along with various screws and hex keys etc.
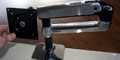
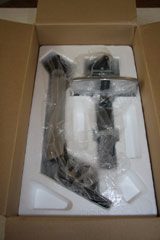
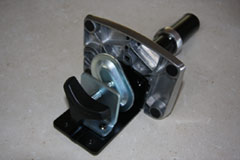
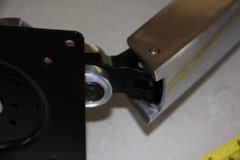
Here's a closer look at the base of the arm, from top and bottom. The clamp can extend 4cm in the default configuration. The bracket holding the clamp can be lowered or raised by about an inch to increase/decrease the clamp.
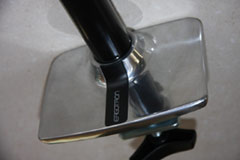  
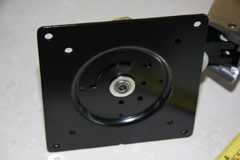
Now for the main part of the arm, that connects to the monitor. The large black plate screws into the back of the monitor - as long as it has a VESA mount. The hinge that sits behind the monitor allows for 360 degree rotation and 180 degree tilt left and right.
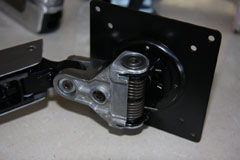
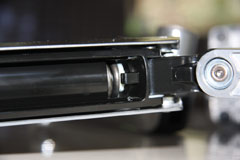
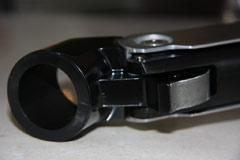
Spring tension on the joints is adjusted using the provided hex keys and is very easy to tighten or loosen. In the middle picture you can just see the end of the main spring that runs down the middle of the arm. At the bottom of the main monitor arm is a collar that slots over the middle extension arm.
|
|
Advertisement:
All original content copyright James Rolfe.
All rights reserved. No reproduction allowed without written permission.
Interested in advertising on OCAU? Contact us for info.
|
|